Knowledge Center
-
 May 02, 2025Read more >
BREESE, Ill., April 30, 2025...
-
 April 08, 2025Read more >
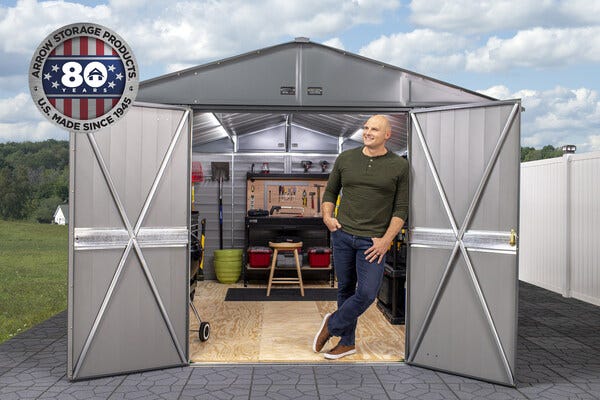
Looking to assemble an Arrow or Scotts metal storage shed? Here’s a simple yet practical...
-
 April 08, 2025Read more >
In today’s unpredictable economy, it’s natural to have questions about pricing, where your products come...
-
 November 07, 2024Read more >
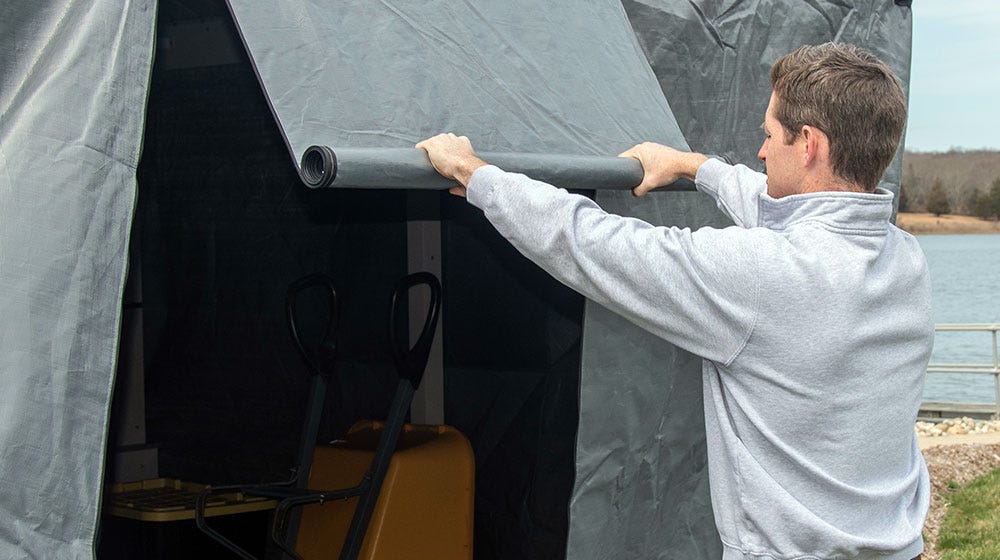
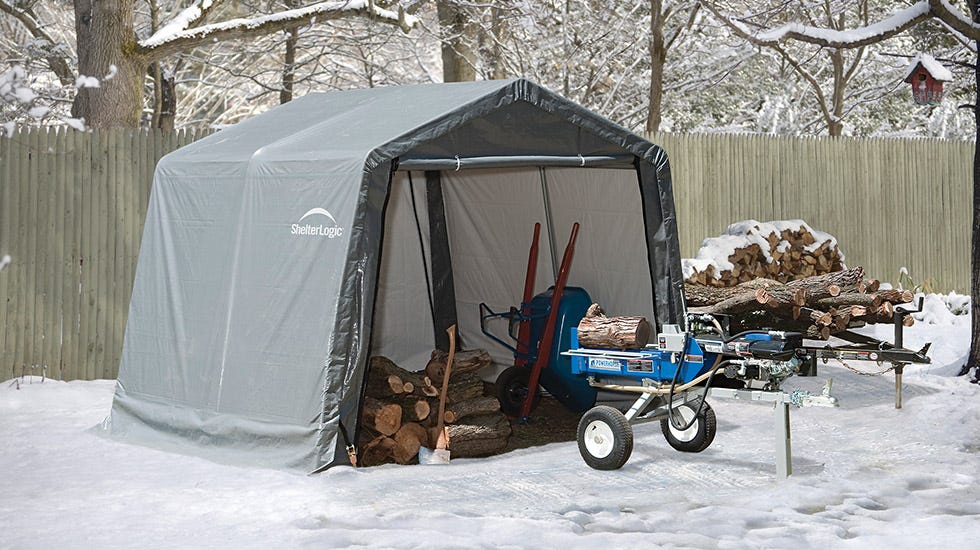
The investment in covered storage for your belongings in the winter can be an excellent investment. If...
-
 November 06, 2024Read more >
If you have a metal gazebo, you already know that one of the best things about your outdoor shelter is...
-
 November 05, 2024Read more >The first big snow of the winter season can be an exciting time. But there’s nothing fun about winter’s...
 -
 November 04, 2024Read more >Whether you need your snow blower after a blizzard or just an ice scraper on a frosty morning, it’s so...
 -
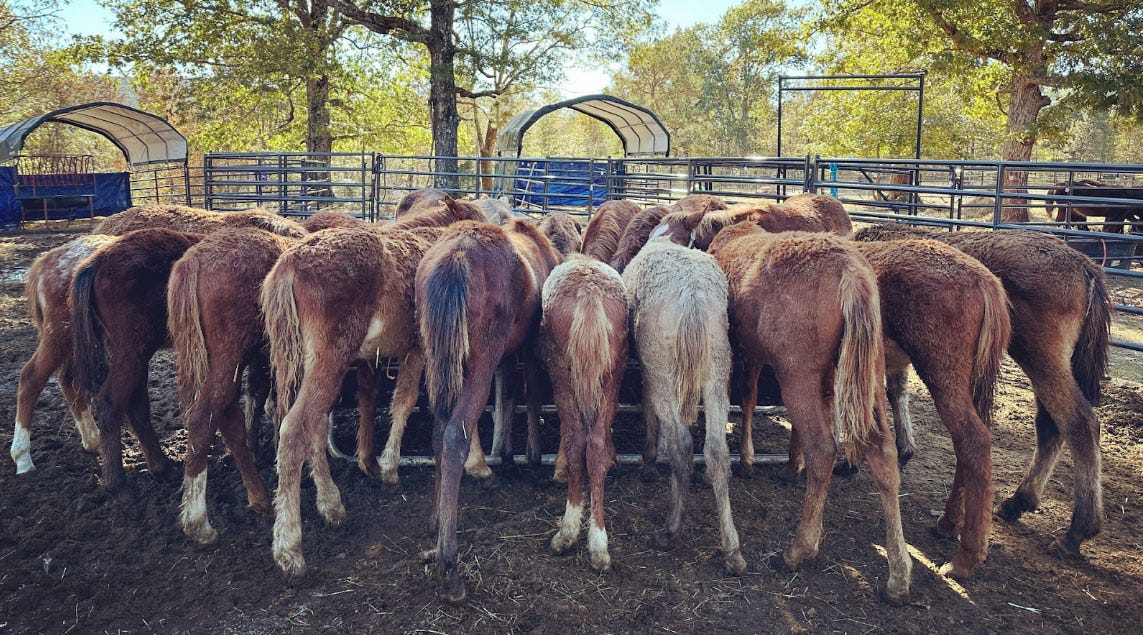 October 16, 2024Read more >
In August of 2023, a remarkable story of compassion and community unfolded. Two groups of wild reservation...
-
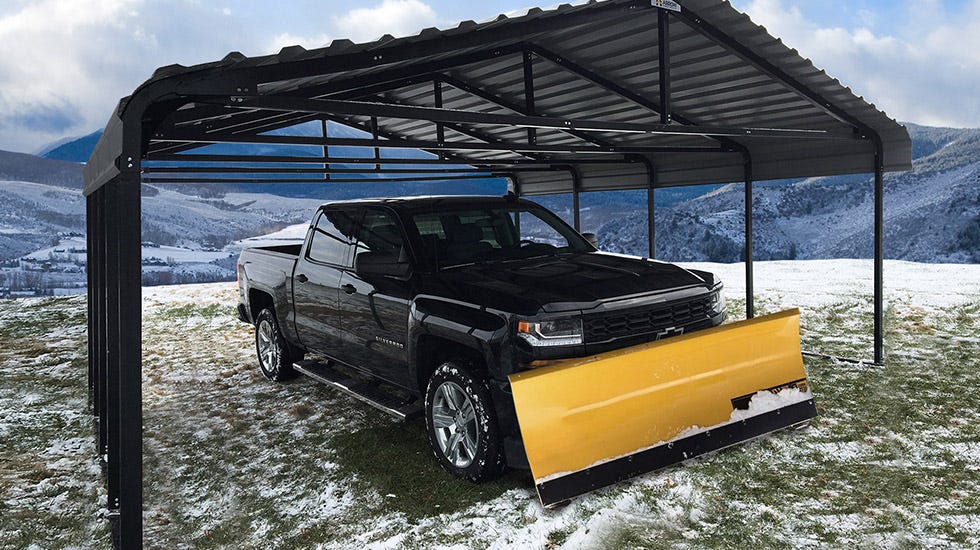
 May 27, 2024Read more >
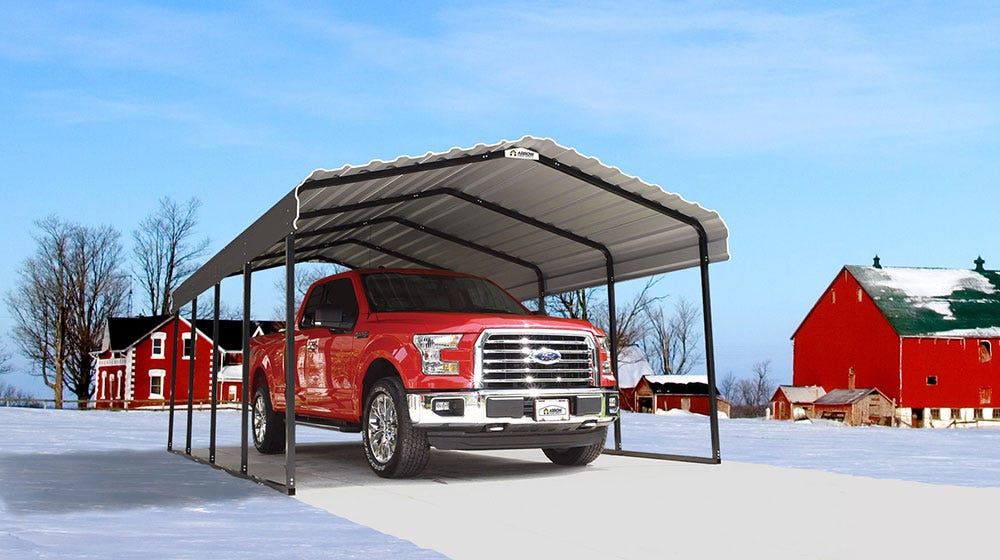
One of the simplest ways to improve the lifespan of your vehicle is to protect it from Mother Nature....
-
 May 23, 2024Read more >
Congratulations on your new shade sail purchase from ShelterLogic! You are just a few steps away from...